Fotoramaは、シンプルで導入が容易なスライダープラグインです。サムネイル付きのスライダーが簡単に設置できます。もちろんサムネイルなしも可能です。
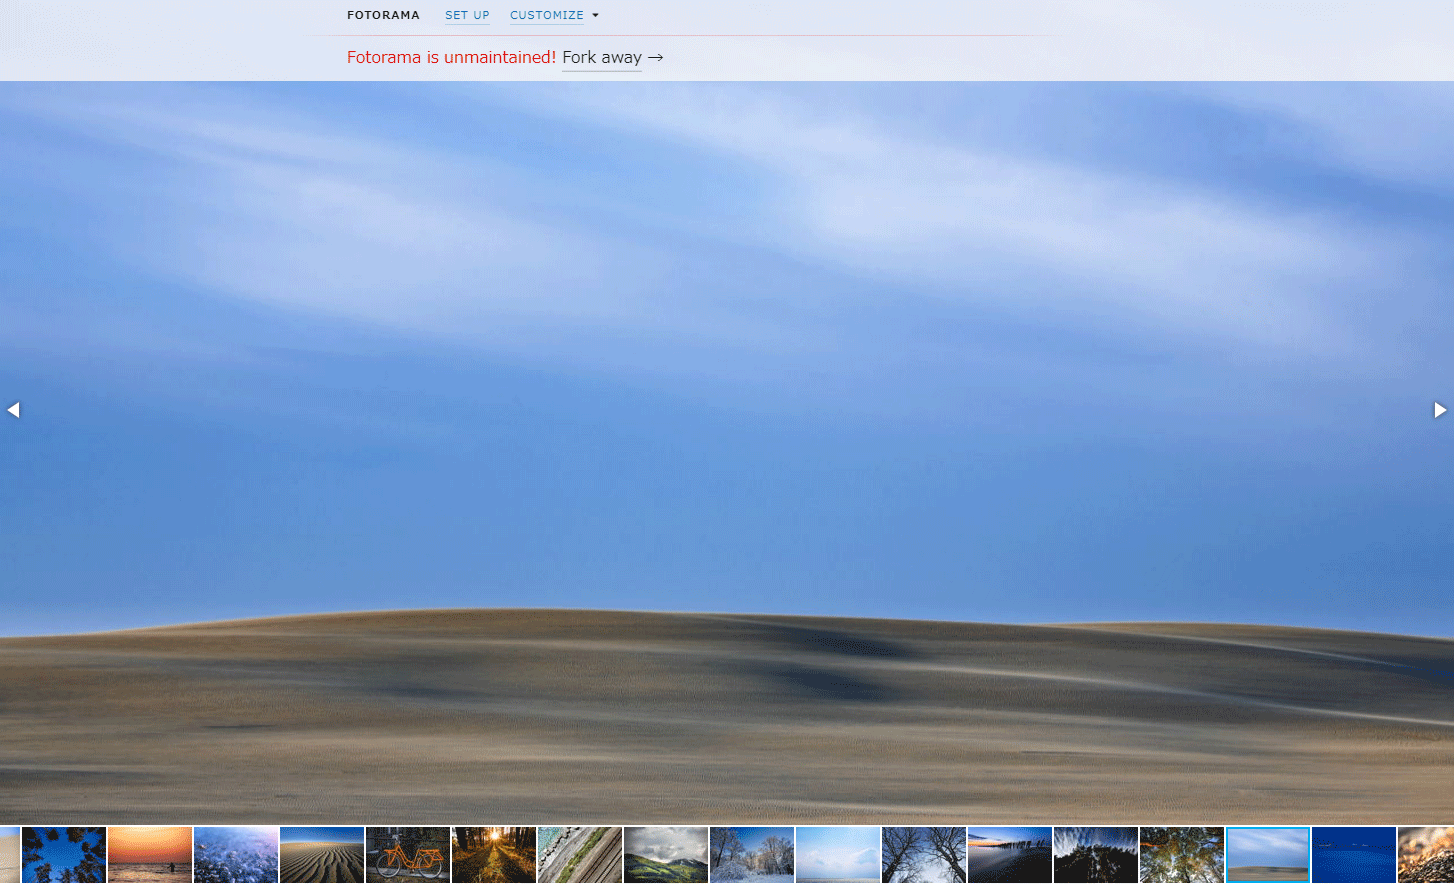
挙動については、以下デモページをご確認いただければと思います。
Fotoramaの導入手順
Fotoramaのダウンロードと設置
まずは公式サイトからファイル一式をダウンロードします。

以下のファイルをサーバー上に設置します。
- fotorama.css
- fotorama.js
- fotorama.png
fotorama.cssとfotorama.pngは同じディレクトリ内に入れます。
CSSファイルの読み込み
設置したCSSファイルを読み込みます。
<link rel="stylesheet" href="fotorama.css">
<head>~</head>内に追加してください。
jQuery本体とJSファイルの読み込み
続いて、jQuery本体とJSファイルを読み込みます。
<script src="//ajax.googleapis.com/ajax/libs/jquery/2.2.0/jquery.min.js"></script>
<script src="fotorama.js"></script>
記述する場所は、</body>の直前でOKです。
スライドのマークアップ
最後にスライド画像をマークアップしたら完了です。
<div class="fotorama">
  <img src="images/01.jpg" alt="">
  <img src="images/02.jpg" alt="">
  <img src="images/03.jpg" alt="">
  <img src="images/04.jpg" alt="">
  <img src="images/05.jpg" alt="">
  <img src="images/06.jpg" alt="">
  <img src="images/07.jpg" alt="">
  <img src="images/08.jpg" alt="">
  <img src="images/09.jpg" alt="">
  <img src="images/10.jpg" alt="">
</div>
上記の場合はシンプルなスライドになりますが、オプションを追加することで、横幅を変更したりサムネイルを表示したりすることができます。
Fotoramaのオプション
Fotoramaには様々なオプションが用意されています。以下のように属性を追加することで、オプションを指定できます。
<div class="fotorama"
data-width="100%"
data-ratio="800/500"
data-transition="crossfade"
data-autoplay="1000"
data-transitionduration="1000"
data-arrows="false"
data-swipe="false"
data-trackpad="false"
data-loop="true"
data-nav="thumbs"
data-fit="cover"
>
| data-width | 横幅 |
| data-ratio | 縦横比 |
| data-transition | アニメーションの種類 |
| data-transitionduration | アニメーションの時間 |
| data-autoplay | 自動実行 |
| data-arrows | 矢印の有無 |
| data-swipe | スワイプによるスライド |
| data-trackpad | トラックパッドへの対応 |
| data-loop | ループ |
| data-nav | ナビゲーション |
| data-fit | 画像のフィット |
詳しくは、Customizeページをご参照ください。
あとがき
マークアップもシンプルで簡単に導入できますね。スライダープラグインで迷ったら、ぜひ導入をご検討ください。


コメントを残す